
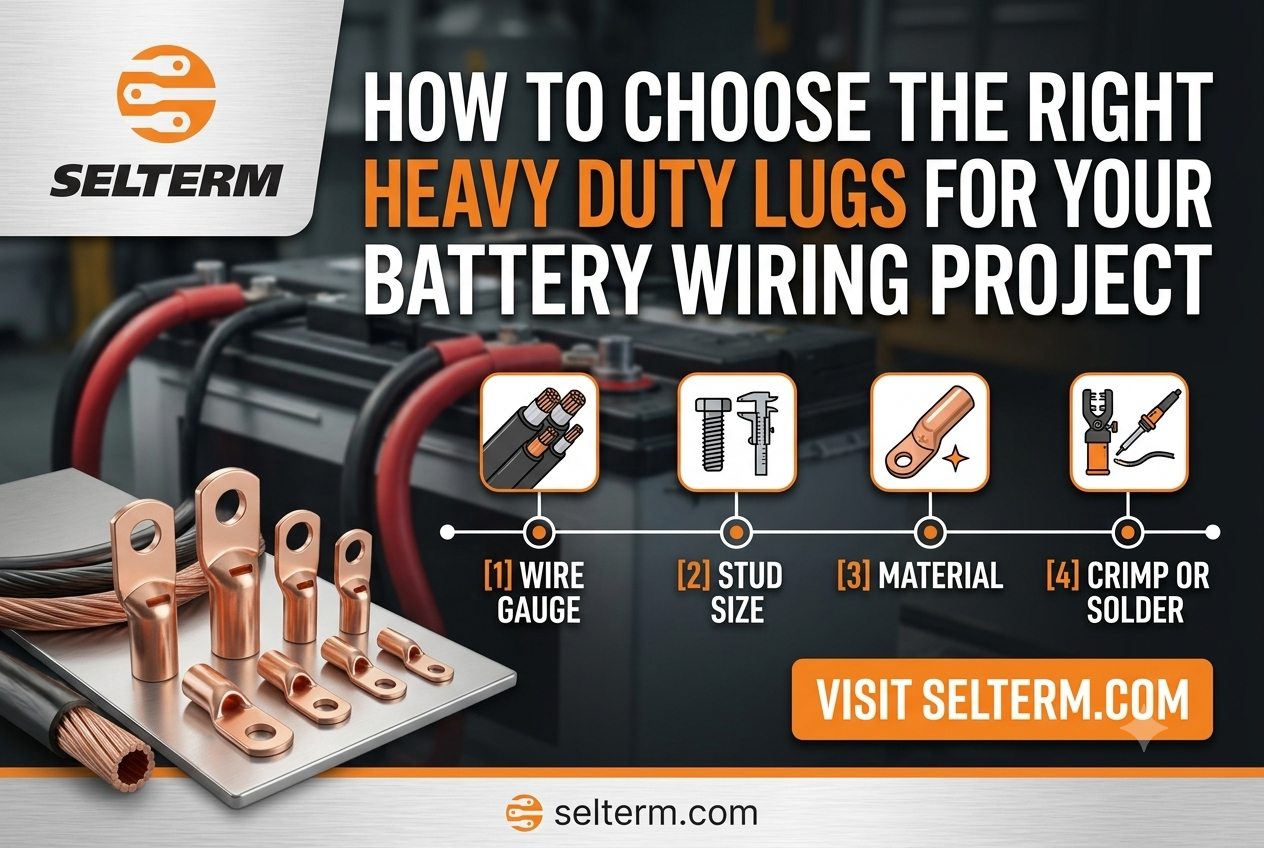
Battery wiring doesn’t usually get much attention until something goes wrong.
The cable might be thick enough, the battery might be in good shape, the equipment might be running fine — and then you find a loose connection, a terminal that’s running hot, or a lug that never quite fit the stud in the first place. More often than not, the cable isn’t the problem. The connection at the end of it is.
Choosing the right heavy duty lugs is one of those details that’s easy to rush and expensive to get wrong. A good lug has to match the cable, fit the mounting stud, handle the current the system actually draws, and hold up in the environment it’s installed in. Here’s what’s worth checking before you order.
Start With the Cable Size
The first thing to nail down is cable gauge. Battery cables come in different sizes because different applications pull different amounts of current, and the lug has to match the cable you’re actually running — not just look close enough to fit.
A lug built for 4 AWG cable isn’t a stand-in for one built for 1/0 AWG, even if you could physically force the smaller cable into the larger barrel. That gap matters even more once you’re working with the bigger sizes — 1/0, 2/0, 3/0, 4/0 AWG — where the difference in conductor diameter is significant.
It’s also worth measuring your actual cable rather than trusting the label. Construction and sizing vary between manufacturers, and some cables run oversized compared to what’s printed on the jacket, which affects how well they seat inside the barrel.
The rule holds either way: match the lug to the cable, not the cable to whatever lug you happened to have on hand.
Don’t Skip the Stud Size
Getting the cable size right is only half the job. The other measurement that matters is the stud or bolt the lug mounts to.
Two lugs can share the same cable gauge and still have different mounting holes — a 5/16-inch stud on one, a 3/8-inch or 1/2-inch on another. A 2 AWG lug drilled for a 5/16-inch stud and a 2 AWG lug drilled for 3/8-inch aren’t interchangeable just because the cable side matches.
Measure the stud, or check the equipment spec sheet, before you order. It’s a small detail, but ordering the wrong hole size gets you a lug that never sits flush on the connection.
Size the Lug to the Current Load
Battery cables carry serious current, especially during starting, winching, running an inverter, or anything else that pulls hard. The lug has to be rated for that load, and a physically larger lug isn’t automatically a better one — cable size, lug rating, and application all need to line up together.
SELTERM’s bare copper battery lugs are a good example of how much this varies by size: a 4 AWG lug with a 1/2-inch stud is rated at 140 A, while a 2/0 AWG lug with a 3/8-inch stud is rated at 300 A. The specific numbers aren’t the point. The point is to check the rating on the lug you’re actually buying instead of judging it on size alone.
Bare Copper vs. Other Materials
Copper is the standard for battery cable lugs because it conducts extremely well, and bare copper lugs work fine anywhere the connection is reasonably protected from the elements.
The environment is what shifts that calculation. Marine applications, outdoor equipment, or anywhere moisture and corrosion are a real concern are places where a tinned or coated option earns its extra cost. Outside of that, there’s not much reason to pay for a “heavier duty” material just because it sounds more rugged — the right material is the one that fits where the connection actually lives.
Check the Lug Construction
Lugs aren’t all shaped the same way. With heavy battery cable, the barrel, pad, and overall build matter as much as the size stamped on the packaging.
A straight barrel covers most standard installs, but some setups need a different orientation depending on how the cable has to route. The mounting pad needs enough surface area to make solid contact, and the lug should sit flat against the battery terminal, busbar, or stud without being forced or bent into place. A clean fit makes the install easier and takes unnecessary strain off the cable long term.
The Crimp Matters as Much as the Lug
A good lug installed badly is still a bad connection. Heavy battery cable needs a crimping tool rated for that cable and lug size — the force required is well beyond what small automotive terminals need.
Insert the stripped cable fully into the barrel before crimping, and once it’s done, the cable shouldn’t pull out with a reasonable hand tug. Skip the hammer-and-vise shortcuts. A lug that looks compressed isn’t the same as one that’s been properly crimped, and on high-current battery wiring, that difference isn’t one worth gambling on.
What About Soldering?
Some heavy duty lugs are built to accept crimping, soldering, or both. That doesn’t mean every job needs solder. A properly executed mechanical crimp is the standard for most battery cable applications, and if you’re weighing solder as an option, follow the manufacturer’s recommendation rather than assuming it automatically improves the connection. The installation method should match what the lug is actually designed for.
Heavy Duty Lugs Show Up Well Beyond Cars
“Battery wiring” covers a lot more ground than the average vehicle. Heavy duty lugs turn up in:
- Automotive battery systems
- Boats and marine electrical systems
- RV and camper wiring
- Solar and battery storage systems
- Inverters
- Industrial equipment
- Backup power systems
- Off-grid electrical setups
- High-current accessory circuits
Cable size and connection requirements shift a lot between these — a lug that’s perfect for one setup can be the wrong choice for another. That’s the case for choosing based on actual specs rather than defaulting to the biggest lug on the shelf.
A Quick Checklist Before You Order
- Cable gauge — does the lug match your actual cable size?
- Stud size — does the mounting hole match the post, bolt, or stud?
- Current rating — is the lug rated for what the system actually draws?
- Material — will it hold up in the environment it’s going into?
- Barrel and pad design — will the cable route naturally, and will the lug sit flat?
- Installation method — do you have the right crimping tool for this cable and lug?
None of these checks take long. Skipping them is what leads to the frustrating wiring problem down the line.
The Lug Is Part of the System, Not an Afterthought
It’s tempting to think of a battery lug as just the small metal piece at the end of a cable. In a high-current system, though, it’s part of the electrical path — cable, lug, crimp, stud, and mounting surface all have to work together, and getting one piece wrong undermines the rest.
So when you’re picking heavy duty battery connector lugs, skip the cheapest option and the one that just looks about right. Start with the cable gauge, then work through stud size, current rating, material, and construction. Once those line up, you’ve got a connection built to actually hold up under load.